How to Get a Glow Effect on Photos Online
Glow effects are one of the fastest ways to turn flat digital photos into dreamy, eye-catching images that feel cinematic and magical. By adding a soft halo of light around important areas, you can make portraits, products and landscapes look more polished and professional without advanced editing skills.
Try DreamyGlow Free Now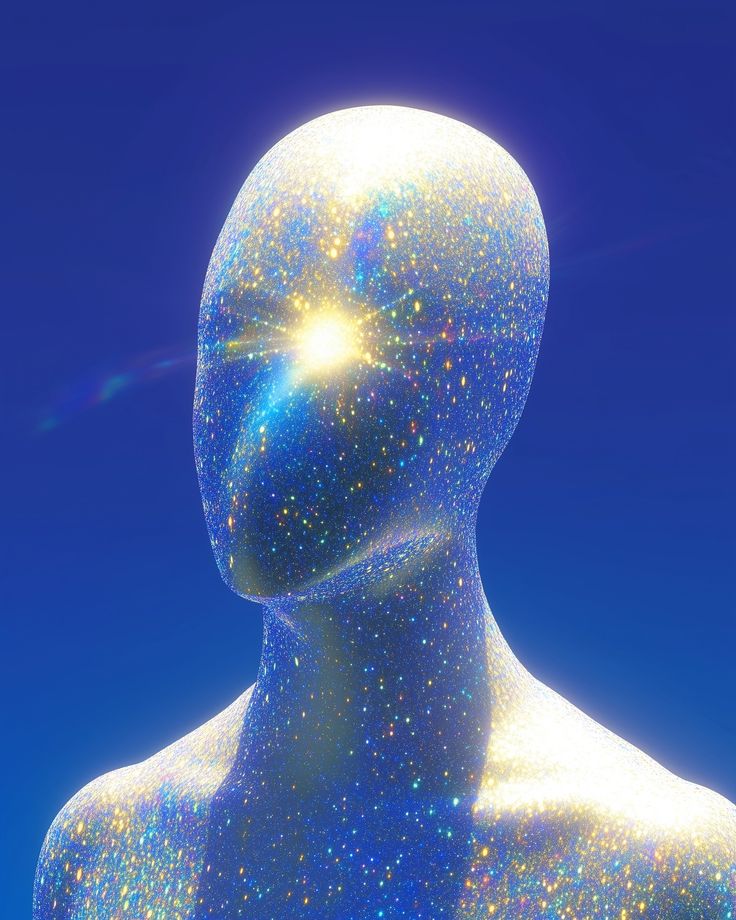
What Is a Glow Effect on Photos?
A glow effect adds a luminous halo or bloom around bright areas, edges or objects in a photo, making them appear as if they are emitting light. Instead of simply blurring everything, a good glow effect combines controlled blur with increased brightness and sometimes color to create a soft, radiant light spill.
Technically, many glow tools work by creating a blurred copy of the image or selected areas and then blending it back using light-based modes. This brightens highlights and softens transitions while keeping the underlying photo structure visible. Modern online editors let you adjust parameters like intensity, radius, color and threshold so only specific parts of the image glow.
When a Glow Effect Works Best
Glow effects are especially powerful when you want to emphasize light, atmosphere or key subjects.
- Portraits and selfies – Add a soft, flattering glow around skin, hair and catchlights in the eyes for a dreamy, cinematic look.
- Products and logos – Make text, icons and product edges stand out with a subtle halo or colored outline that grabs attention.
- Night and neon scenes – Enhance neon signs, city lights and reflections so they feel more vibrant and alive.
- Social media and thumbnails – Use glow to make titles, stickers or key elements pop in crowded feeds and small preview sizes.
- Artistic and fantasy edits – Combine glow with color grading, haze and overlays to create ethereal, surreal or magical atmospheres.
Used in moderation, glow adds polish and emotion; pushed too far, it can quickly look cheap or over-processed, so control is key.
How to Get a Glow Effect on Photos Online with DreamyGlow
Many websites let you add glow to images online by uploading a photo and tweaking sliders for glow amount and blur, with everything running directly in your browser. DreamyGlow focuses specifically on soft, dreamy glow for aesthetic photography rather than generic glow around any object, making it ideal for portraits, landscapes and cinematic edits.
Step 1 – Upload your photo
Open DreamyGlow in your browser and upload the photo you want to edit. The editor runs entirely client-side and supports common image formats like JPG, PNG and WebP, so you don’t need to install anything or create an account.
Glow tends to work best on photos that already have highlights, light sources or bright edges—sunsets, windows, neon signs, shiny objects, backlit hair, etc. These areas will naturally catch the glow and look more convincing.
Step 2 – Choose the glow-style effect
Within DreamyGlow, select an effect that applies a glow or bloom-style look, such as Soft Glow, Ethereal Glow or similar dreamy filters. These presets are designed to detect highlights and edges automatically and apply a natural-looking glow without destroying all detail in the image.
Unlike basic tools that simply blur and brighten the entire image, these effects target luminous areas first, so you get more control and a more professional result.
Step 3 – Adjust glow intensity and radius
Once the effect is applied, fine-tune the look with sliders:
- Glow intensity / amount – Controls how strong and visible the glow is, from a barely-there shimmer to a bold, dramatic bloom.
- Radius / spread – Determines how far the glow extends from the light source or bright edge. Smaller radius = tight halo, larger radius = atmospheric, foggy look.
- Opacity / blend – If available, use this to mix the glowing layer with the original image and keep important details visible.
Start with moderate values and increase gradually until the glow enhances light without making the whole photo look foggy or washed out.
Step 4 – Control which parts of the image glow
More advanced glow tools let you specify which areas should glow using threshold or selection controls.
- Brightness threshold – Only pixels above a certain brightness level will glow, so light sources and highlights glow while darker areas stay normal.
- Area selections – Some tools allow selecting a region manually or around an object (logo, text, subject) to apply glow locally.
- Edge-based glow – Others focus on edges or outlines to create a glowing stroke rather than a full-image bloom, which is great for graphics and logos.
On portrait or landscape photos, aim for highlight-based glow. On logos or UI graphics, consider outline/edge glows to make elements stand out.
Step 5 – Refine color and mood
Glow doesn’t have to be pure white. Color is a big part of the final look.
- White or warm glow for natural, cinematic, dreamy looks.
- Colored glow (blue, purple, teal, neon) for futuristic, cyberpunk or vaporwave aesthetics.
- Golden glow for sunsets, warm portraits and luxury product shots.
If your tool offers presets (Soft, Strong, Neon, Dream, etc.), try them as starting points, then tweak color and intensity to fit your image and brand.
Step 6 – Download your glowing photo
When you are happy with the glow, export your result. Most online glow tools let you download in JPG or PNG, sometimes with batch options or ZIP exports. DreamyGlow processes everything in-browser, so your images stay private and you can download a high-quality, watermark-free version ready for social media, portfolios or client work.
Recommended Glow Settings for Different Styles
Soft dreamy portraits
- Intensity: low to medium
- Radius: medium
- Color: neutral white or slightly warm
- Focus glow on highlights in skin, hair and background lights
This keeps facial features readable but adds a romantic, cinematic softness.
Golden hour landscapes
- Intensity: medium
- Radius: medium to large
- Color: warm (golden, orange, pink)
- Emphasize glow around the sun, horizon, clouds and reflective surfaces
This emphasizes natural light and makes sunsets feel more dramatic and nostalgic.
Neon and cyberpunk scenes
- Intensity: medium to high
- Radius: small to medium
- Color: bright saturated hues (cyan, magenta, purple, lime)
- Glow mostly on neon signs, UI, screens and reflective surfaces
Here the goal is punchy, graphic impact, so don’t be afraid of strong colored glows around key elements.
Logos, text and UI graphics
- Intensity: medium
- Radius: small
- Color: brand color or complementary hue
- Use outline/edge glow rather than full-image bloom
This keeps icons and text crisp while giving them a luminous aura that pops on dark or gradient backgrounds.
Common Glow Effect Mistakes (and How to Fix Them)
Glow is easy to overdo. These are the most frequent issues and quick fixes.
- Everything looks blurry and washed out – Reduce radius and intensity, and if possible, limit glow to bright areas using a threshold or highlight mask.
- Skin or text becomes unreadable – Lower glow strength on faces and typography, or mask them out so they stay sharp under the glow layer.
- Colors look muddy – After adding glow, gently increase contrast or saturation, and avoid stacking multiple strong glows with conflicting colors.
- Glow appears everywhere, not just where it should – Use tools that allow brightness thresholds or region selection, so only highlights or specific objects glow.
- Cheap "filter" look – Combine glow with subtle color grading, exposure and contrast tweaks instead of relying on a single slider at maximum.
Small, precise adjustments almost always look more professional than a heavy one-click effect.
Frequently Asked Questions About Online Glow Effects
How do I get a glow effect on my photos without Photoshop?
You can use any online glow effect editor that runs in your browser: upload your image, adjust glow intensity and radius, preview in real time and download the result. Tools like DreamyGlow focus on soft, dreamy glow looks, while others provide more generic glow or outline glows.
Is a glow effect just blur plus brightness?
Many glow effects are built from blur plus added brightness, but the key is where and how they are applied. Good glow tools use thresholds and blend modes so only highlights or selected areas glow, rather than blurring and brightening the entire image uniformly.
Will a glow effect lower my image quality?
If you use very strong glow with large radius everywhere, the image can look soft and low-contrast. Kept at moderate levels and applied selectively, glow can actually make photos look more polished and professional without noticeable quality loss, especially when exported at high resolution.
Can I use glow effects for logos and transparent PNGs?
Yes. Many online tools support adding glow around PNGs with transparency, letting you create glowing outlines around logos, icons or stickers while preserving transparent backgrounds. You can then place them on websites, thumbnails or social posts without any visible box.
Glow Effect FAQ
Conclusion
Glow effects are one of the simplest ways to make your photos and designs feel more dreamy, cinematic and attention-grabbing. By combining blur, brightness and color in a controlled way—and applying them selectively to highlights, edges or objects—you can create everything from soft romantic glows to bold neon halos directly in your browser.
Open DreamyGlow, upload a photo and try a soft glow or dreamy glow filter for yourself. Adjust intensity, radius and mood until the glow matches your style, then download a high-quality, watermark-free version ready for Instagram, portfolios, thumbnails or client work—with no software installs or subscriptions required.