How to Add a Soft Glow Effect to Your Photos
Soft glow is one of the easiest ways to make your photos look dreamy, romantic and cinematic without complex editing skills. By adding a gentle light bloom around the brightest areas, you can soften harsh details and create a warm, ethereal glow that instantly upgrades any image.
Try Soft Glow Free Now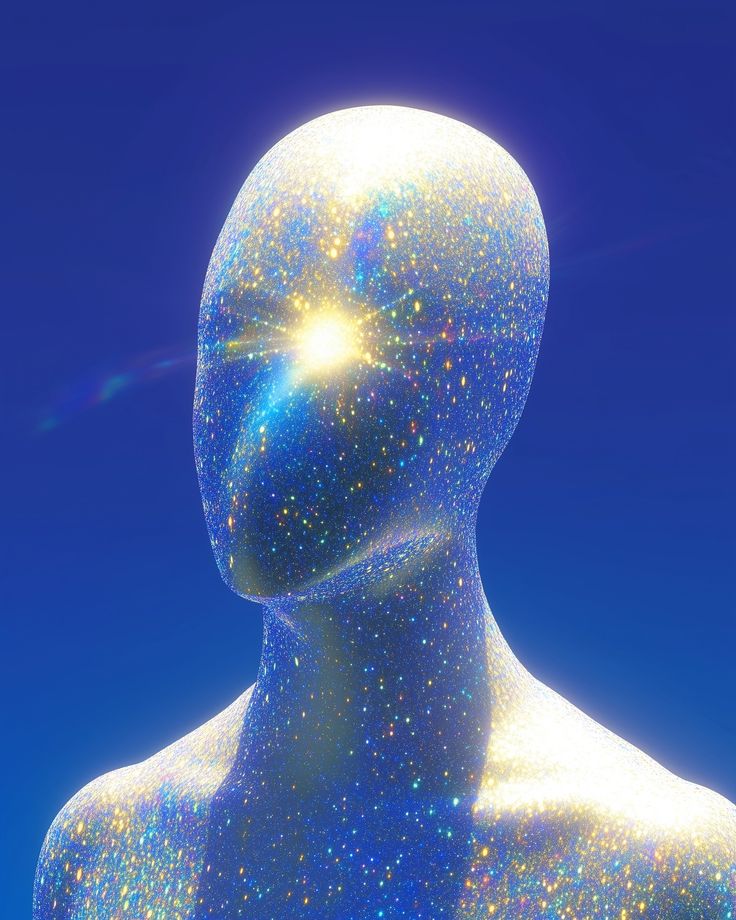
Soft glow is one of the easiest ways to make your photos look dreamy, romantic and cinematic without complex editing skills. By adding a gentle light bloom around the brightest areas, you can soften harsh details and create a warm, ethereal glow that instantly upgrades any image.
In this step-by-step guide, you’ll learn exactly how to add a soft glow effect to your photos, when to use it, and how to get professional results in just a few clicks using a free online soft glow photo editor. Whether you shoot portraits, landscapes, weddings or content for social media, this soft glow tutorial will help you create dreamy photos that stand out.
What Is the Soft Glow Effect?
A soft glow effect is a photo editing technique that adds a subtle halo of light around highlights and bright edges while gently softening the overall image. Instead of blurring everything, a good soft glow preserves important details but adds a delicate, luminous haze that feels dreamy and atmospheric.
Traditionally, photographers created this look with Gaussian blur layers and blend modes in tools like Photoshop, but today you can get the same soft glow effect online in seconds without expensive software. The goal is always the same: keep the subject recognizable and sharp enough, while adding just enough glow to make the image feel magical rather than flat.
When to Use a Soft Glow Effect
Soft glow works especially well in situations where you want emotion, warmth and atmosphere to be more important than clinical sharpness.
- Portraits and selfies – Add a romantic, flattering glow that smooths skin slightly and gives eyes and hair a soft shimmer.
- Golden hour landscapes – Enhance warm sunlight, mist, and reflections to create dreamy, ethereal scenes with more depth and mood.
- Wedding and couple photos – Give important moments a timeless, emotional look with soft highlights and gentle contrast.
- Product and lifestyle shots – Create a premium, elegant feel for cosmetics, jewelry, fashion and home decor by adding a subtle soft glow around light sources.
- Instagram and social media content – Build an aesthetic, cohesive feed with a consistent dreamy soft glow look across your posts and stories.
You don’t need to use this effect on every image, but applied carefully, it can add a cinematic, emotional touch that makes your work more memorable.
How to Add a Soft Glow Effect Online with DreamyGlow
Instead of building complex layers by hand, you can use DreamyGlow as a free online soft glow photo editor to add this effect in just a few steps.
Step 1 – Upload your photo
Open DreamyGlow in your browser and upload the image you want to transform. The editor supports common formats like JPG, PNG and WebP, and everything runs directly in your browser so you don’t need to install anything.
Choose a high-quality image with decent exposure and at least some highlights or light sources. Soft glow works best when there are existing bright areas to enhance, such as windows, sunlight, reflections or backlit hair.
Step 2 – Select the Soft Glow effect
Once your photo is loaded, select the Soft Glow effect from the list of dreamy filters. This dedicated soft glow photo effect is designed to detect highlights and edges automatically and apply a natural-looking glow without destroying detail.
You’ll see a real-time preview, so you can immediately judge how much glow works best for your image before applying the final settings.
Step 3 – Adjust glow intensity and softness
Use the available sliders to fine-tune the look:
- Glow intensity – Controls how strong and visible the soft glow is. Start with a medium value and adjust up or down until the glow feels dreamy but not fake.
- Softness or radius – Controls how far the glow spreads around highlights. A smaller radius gives a tighter halo, while a larger radius creates a more atmospheric, misty look.
- Contrast and brightness – Small tweaks here help prevent highlights from blowing out while keeping the overall image luminous.
Aim for a balance where faces and key details remain readable, but the overall scene feels smoother, softer and more cinematic.
Step 4 – Refine the look with optional effects
For even more dreamy results, combine the Soft Glow effect with other subtle adjustments:
- Add a Haze Filter for landscapes or backlit portraits to simulate mist and atmospheric depth.
- Use Ethereal Glow or Starlight style effects to emphasize specular highlights, fairy lights or night scenes.
- Slightly reduce clarity or texture if the image still feels too sharp and digital.
These combinations can push your photo into a fully dreamy, ethereal aesthetic while still feeling controlled and intentional.
Step 5 – Download your soft glow photo
When you are happy with the result, export your image in high resolution. DreamyGlow processes everything directly in the browser and lets you download a clean, watermark-free version, ready for printing, portfolios or social media.
Recommended Soft Glow Settings for Different Types of Photos
There is no single perfect soft glow recipe, but some starting points work well for common scenarios. Use these as guidelines and then adjust based on your image and personal style.
Portraits and beauty shots
For portraits, the goal is to make skin look smooth and luminous without turning it into plastic.
- Keep glow intensity on the low to medium side.
- Use a moderate radius so the glow wraps gently around faces and hair.
- Watch the eyes and lips: they should remain relatively sharp and defined.
- If skin looks too flat, gently add back a bit of contrast or clarity.
A subtle, flattering soft glow can make portraits feel romantic and high‑end without obvious "filter" artifacts.
Landscapes and golden hour
For landscapes, especially during sunset or sunrise, you can push the effect slightly more.
- Increase radius to create a wider, atmospheric glow around the sun, clouds and bright reflections.
- Use medium intensity so the sky glows without completely washing out details.
- Combine with a light haze or dehaze adjustment to keep depth in the scene.
This approach is perfect for dreamy forests, mountains, fields and coastal scenes where light is the main subject.
City lights and night scenes
With cityscapes and night photos, soft glow can make artificial lights look magical.
- Focus the glow around street lights, windows and neon signs.
- Use a smaller radius but slightly higher intensity so the lights bloom nicely.
- Avoid over‑brightening dark areas; keep enough contrast so the scene doesn’t turn gray.
The result should look like a cinematic night still, not a blown‑out HDR.
Wedding, couples and lifestyle
For emotional, story‑driven images, soft glow helps communicate warmth and intimacy.
- Use a gentle glow overall, with a bit more intensity on backlit hair and edges.
- Combine with warm white balance for a "golden" feeling.
- Keep important details (faces, rings, dresses) visible and not overly blurred.
This is also a great look for lifestyle, fashion and editorial images where mood matters more than micro‑sharpness.
Product and flat‑lay photos
Soft glow can make products feel more premium, but it must be handled carefully.
- Apply a very subtle glow so logos and text remain crisp.
- Focus the effect around reflections, metallic edges and light sources.
- Avoid heavy glow on dark backgrounds; it can quickly look muddy.
The goal is to add a touch of luxury and softness without harming clarity or readability.
Common Soft Glow Mistakes (and How to Fix Them)
Even a beautiful effect can look cheap if it is overused. Here are the most common mistakes when adding soft glow to photos and simple ways to avoid them.
- Glow is too strong – If everything looks foggy and low-contrast, reduce intensity and radius until only highlights and bright edges have a visible halo.
- Highlights are blown out – If skin, clouds or light sources lose all detail, lower overall brightness and reduce glow intensity, or add a bit of contrast back.
- Skin looks plastic – If faces look like smooth plastic, reduce glow, keep some texture, and avoid over-smoothing in other tools.
- Colors look washed out – If your image loses color richness, gently increase saturation or vibrance after applying the glow, or try reducing radius while keeping some intensity.
Small, precise adjustments almost always look better than a heavy, one‑click effect.
Frequently Asked Questions About Soft Glow Effects
Bring Dreamy Soft Glow to Your Photos in Minutes
Soft glow is one of the most powerful ways to turn ordinary photos into dreamy, cinematic images that feel emotional and timeless. With the right intensity and radius, you can add a professional soft glow effect to portraits, landscapes, weddings, products and social media content in just a few minutes.
Open DreamyGlow, upload a photo and try the Soft Glow effect for yourself – adjust the glow to match your style, combine it with haze or other dreamy filters, and download your finished image in high quality with no signup required.
Ready to add soft glow to your photos?
Launch the Soft Glow effect in DreamyGlow and transform your photos with a dreamy, cinematic glow in just a few clicks.